


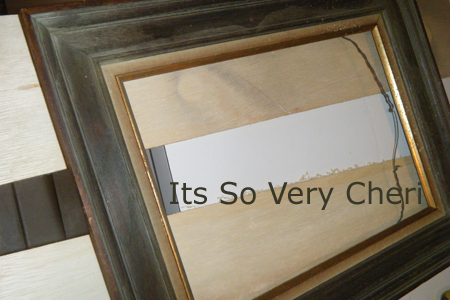
We had gone to a new-to us-thrift store and I found this old frame.
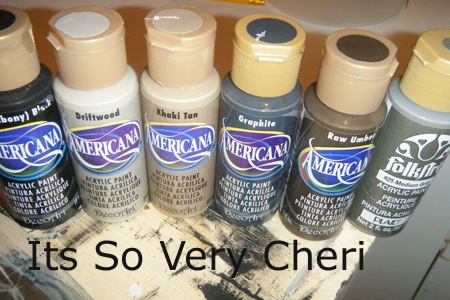
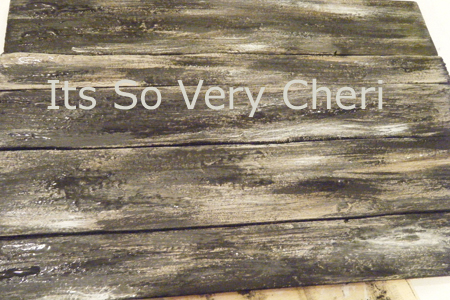
I ran to the garage gathered my supplies and headed out to the garage, and cut strips of wood. I did not want perfect lines, so this was so easy. I cut strips in different widths. Then I grabbed my DecoArt paints and began painting them all BLACK and while I was at it I painted the entire frame a mixture of the Ebony black and Raw Umber.
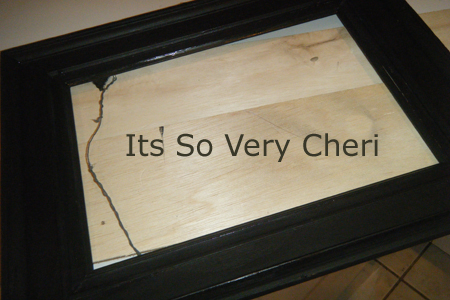
Once the frame was dry I went in with some Americana Khaki.
I have a favorite paint color but it isn’t a DecoArt color so I needed to mix some of the colors together to get the color I wanted. I used the Ebony black and the Raw umber then added in a little gray.
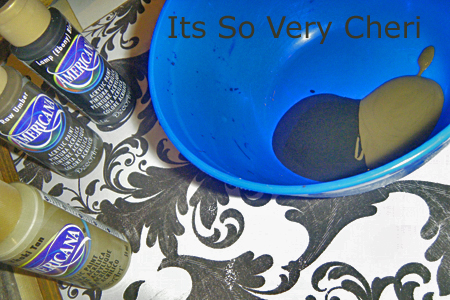
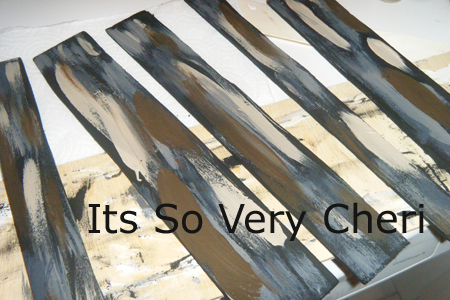
Layers-that’s what it is all about–BABY
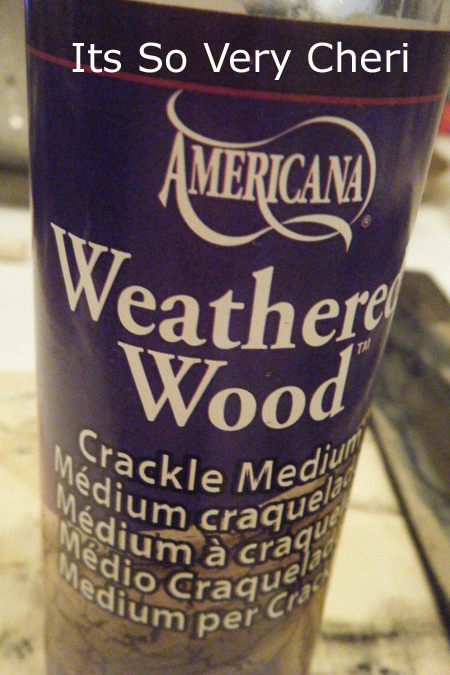
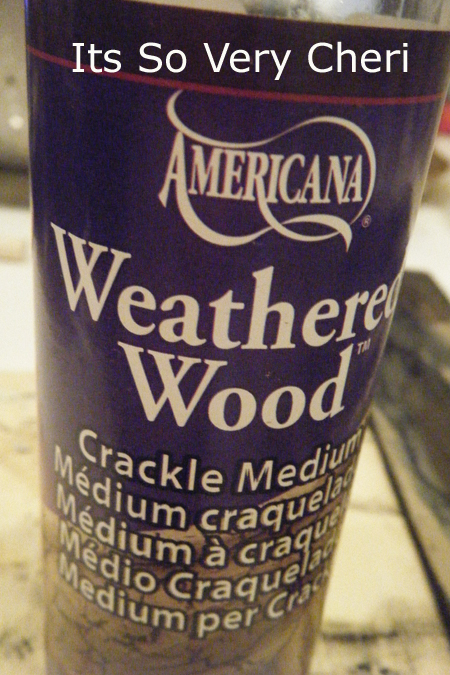
I added some of the weathered wood. Then more layers of color.
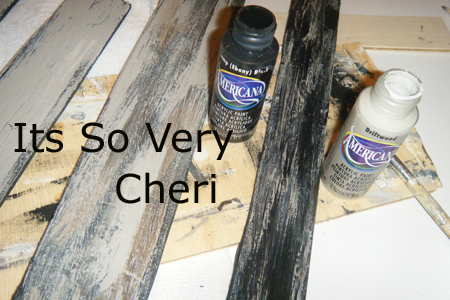
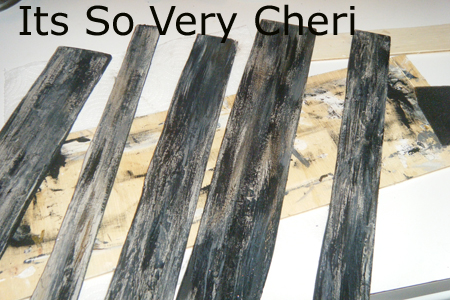
Once I had the look I wanted, I layed them out to fit inside the frame.
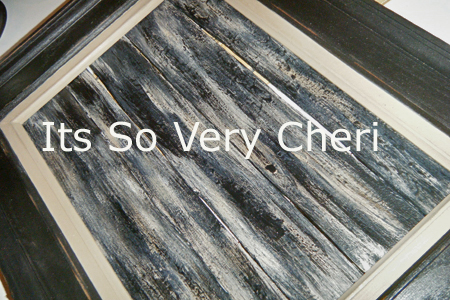
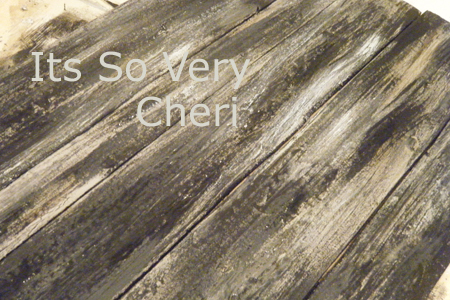


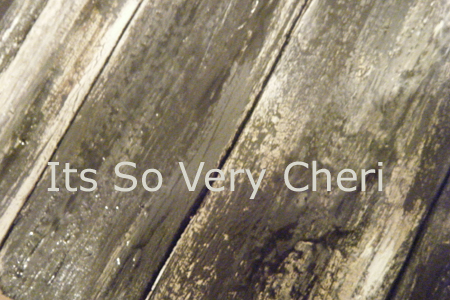

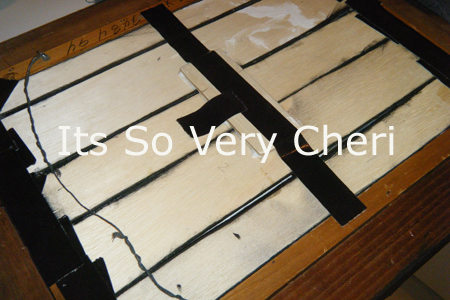
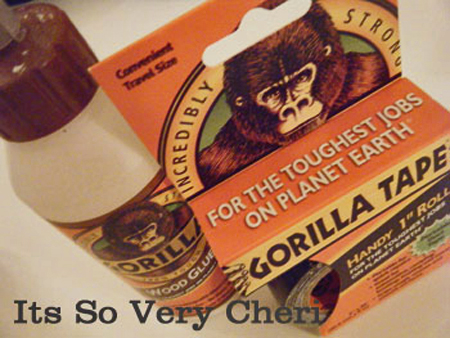
Iused my White Gorilla Glue and My Gorilla Glue tape to hold it in place while it dried.

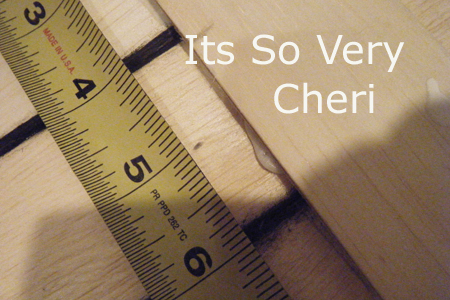
I added another piece of wood on the back. It served 2 purposes.
1) I was going to cut off the wire hanger that was on the back and remove the little screw in hooks that held the wire. WHY? because it was visable through the slats of wood and I did not like it at all.
2) I was going to add a nail to hold the fleur de lis hook and I didn’t want it poking out the back. It also gave me a place to attach my DISChanger to hang this project. I glued it down with my white Goriila Glue as well and taped it in place. I placed it so it would be hid behind the cork.

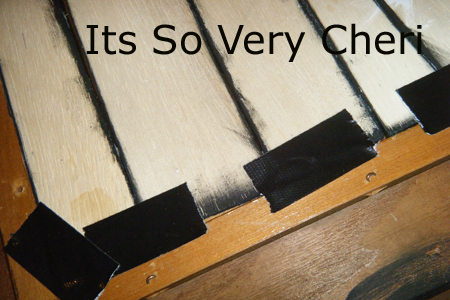
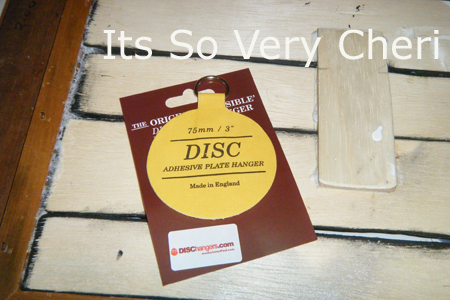
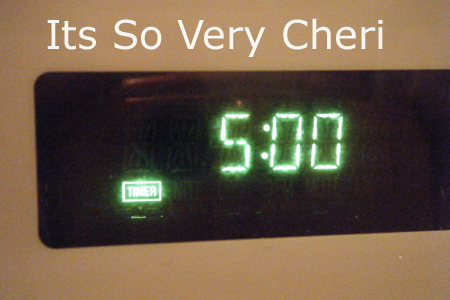
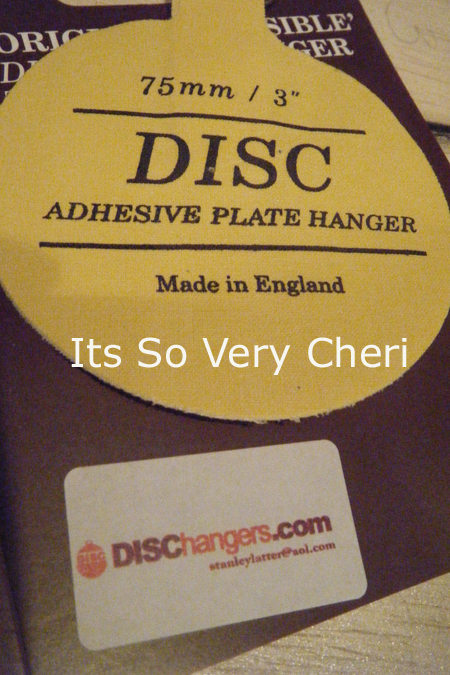
DISChangers are AMAZING –I love these to not only habg plates but wood projects as well. You get the disc wet, set the timer for 5-10 min, my glue is always activated in 5 min, attach it to the back and let it dry for several hours before hanging.
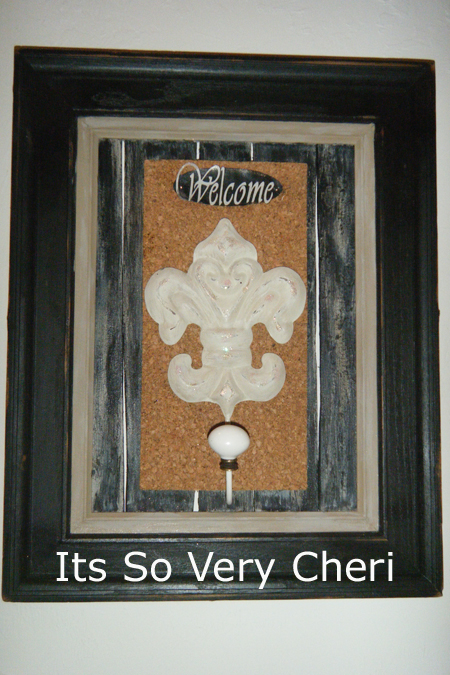
I attached 2 square pieces of cork and made sure they fit tight before attaching them. Then I laid the fleur de lis hook on top to decide where I wanted it.
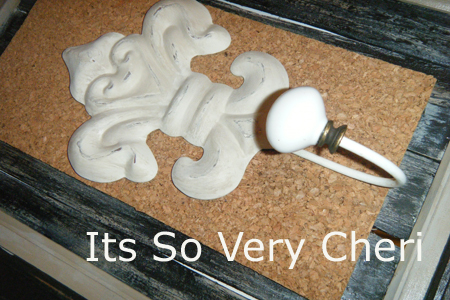
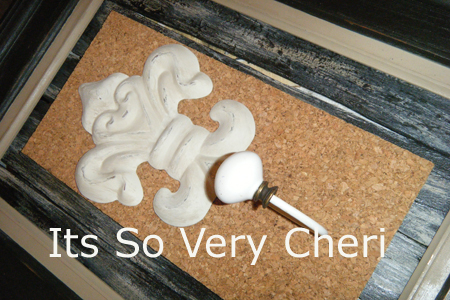
I decided I liked it best hanging lower and that made the nail go in at the perfect spot, between the 2 sqaures.
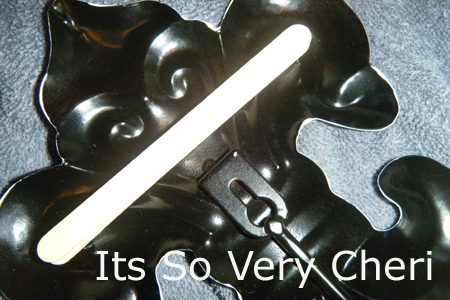
I glued 2 popsickle sticks together and then Gorilla Glued them to the back of the fleur de lis hook so it was level.
Then I cut out an oval and Welcome on my Cricut.
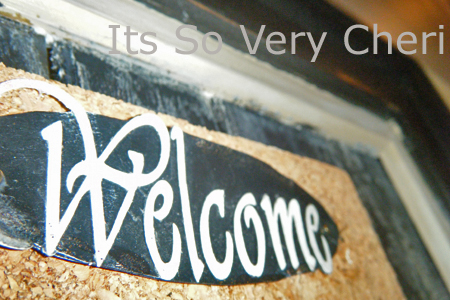
I glued it down. I painted the flweur de lis with some highlights of the Americana Bleached Sand.
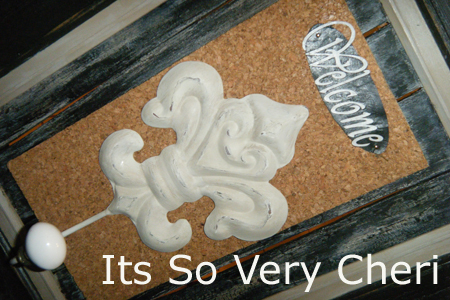

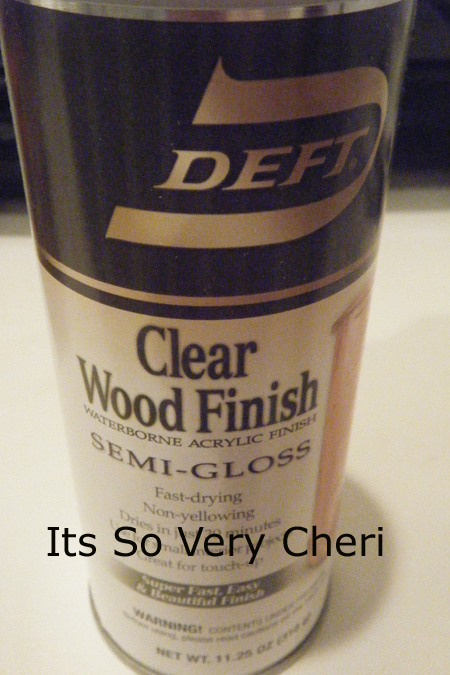
I sealed my frame with the Rockler Wood Sealer–I just LOVE the finish this gives.

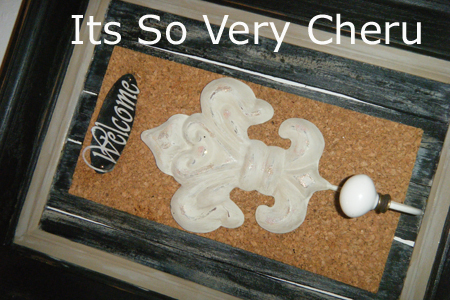

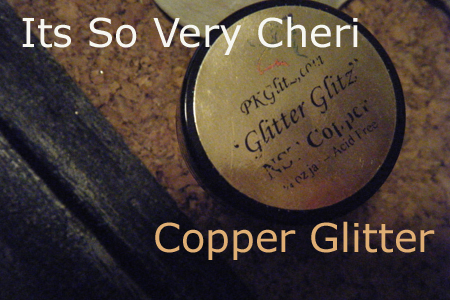
I used some craft glue and lightly painted little bits of glue here and there on the fleur de lis hook and the Welcome sign and sprinkled over it with the Copper Glitter, then went back over some of the areas with more of the Americana Bleached Sand paint and it made the glitter look like a champaigne color.

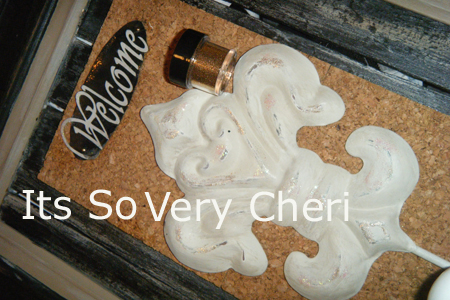

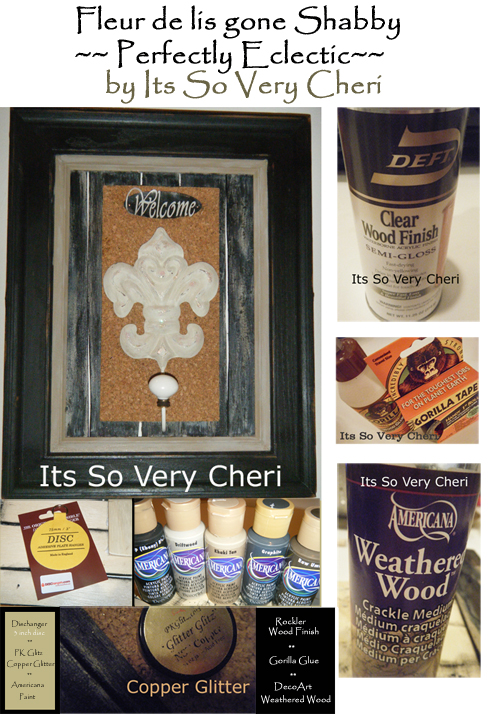
I love how this is a perfect mixture of old and new, it is perfectly eclectic, it is so VERY Cheri.


www.itssoverycheri.com

www.Diyclubinc.com
I will be adding this to the DIY Club inc.


{ 9 comments… read them below or add one }
you’re so cool! Thanks for sharing this amazing tutorial!
smiles!
Really cute! I love all the different elements- you put them together so well! The wood on the back is just perfect. Great job!! 🙂
Great posts!
Love your tutorial. You’re amazing.
Thanks for including my concrete wall makeover:)
Tooo cool! this turned out awesome.
Fabulous. I love just about anything with a fleur di lis!
Love it!!! Good job :)) I can’t wait to start painting again!!!
~ Michella ~
~ ~ xo ~ ~
Love it! I would have never thought of using a disc hanger for a frame, but that is perfect.
This is beautiful! I love how the entire project all came together.
Your artwork is beautiful!! Thank you so much for donating your project to our Trash to Treasure Charity Auction. We truly appreciate your effort and generosity!
Marge