


Hi there Its So Very Cheri followers!
I’m Kendall from Finesse Your Nest and I’m a loyal Cheri “groupie” follower too!
I am so excited that she invited me to share a “TUTE” with you today!
My latest obsession is decorative balls.
They are such a versatile decorative element, from vase & bowl fillers to simply displaying alone as an objet d’art!
Now I don’t know about you, but I hate buying them because they are usually SO expensive and to make an arrangement, you need several. So, I decided to make my own, on the cheap!
My home is beachy coastal, so the 2 I will show you today are in keeping with that theme. Just remember, you can make these balls with anything that suits your decor style!
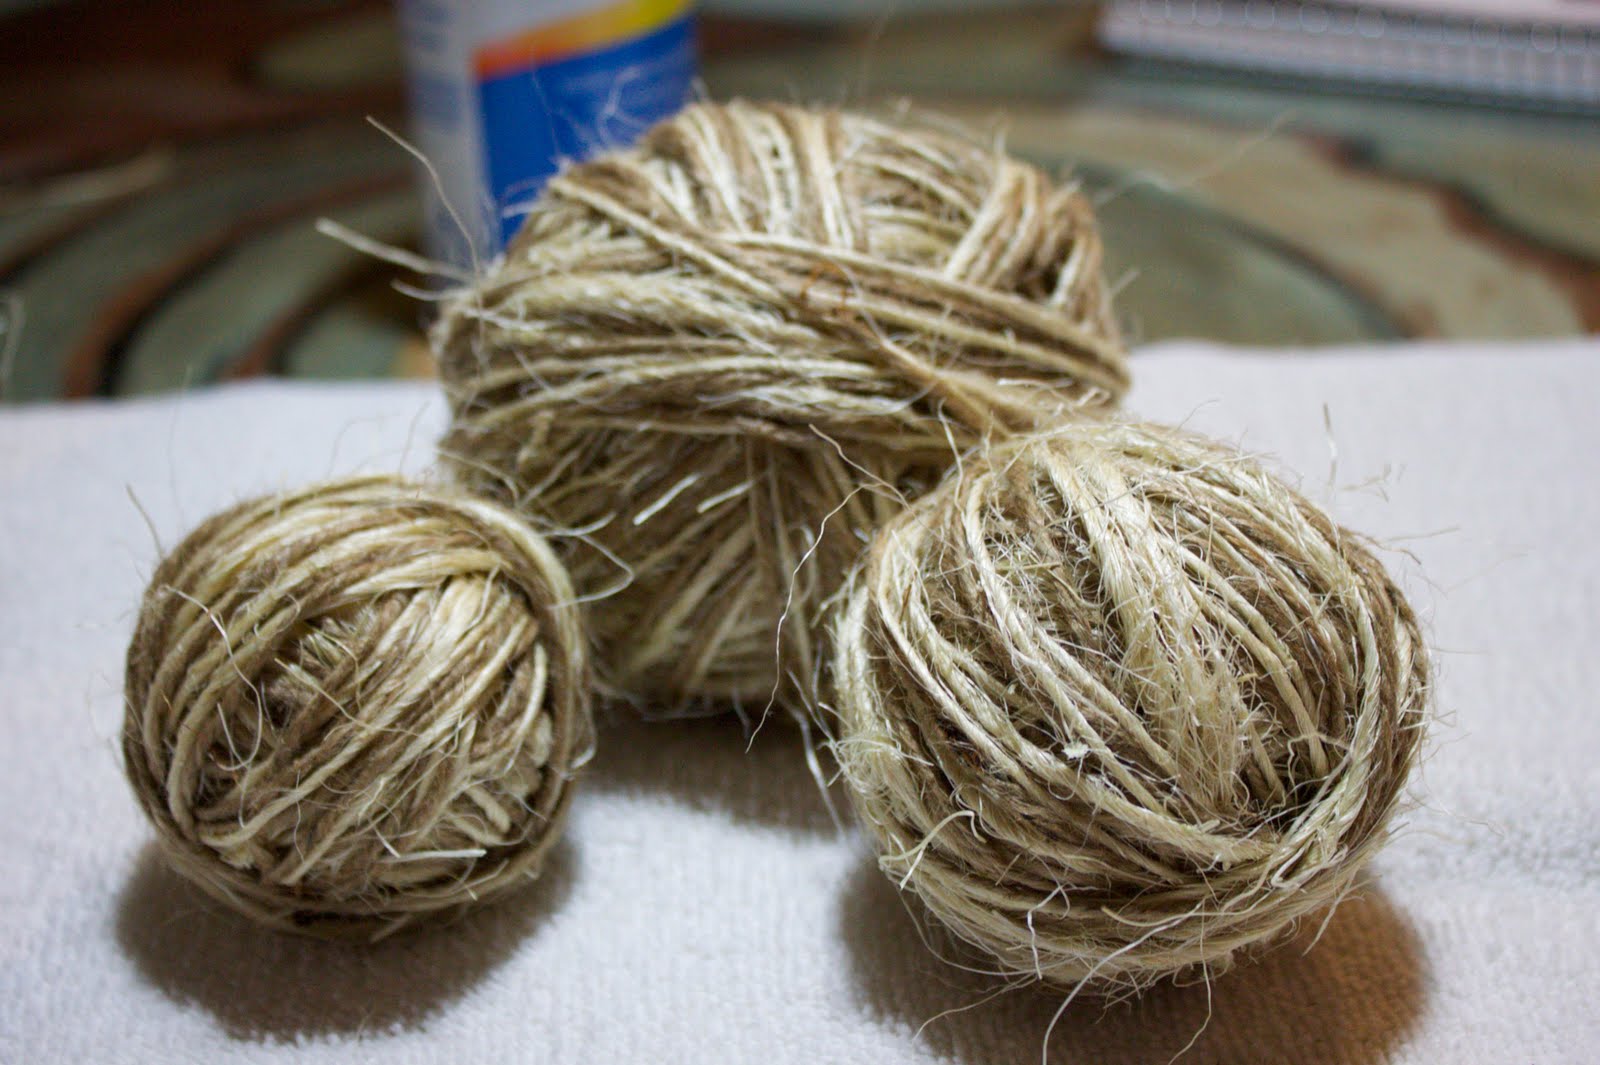
Ratty Little Jute Balls
You will need:
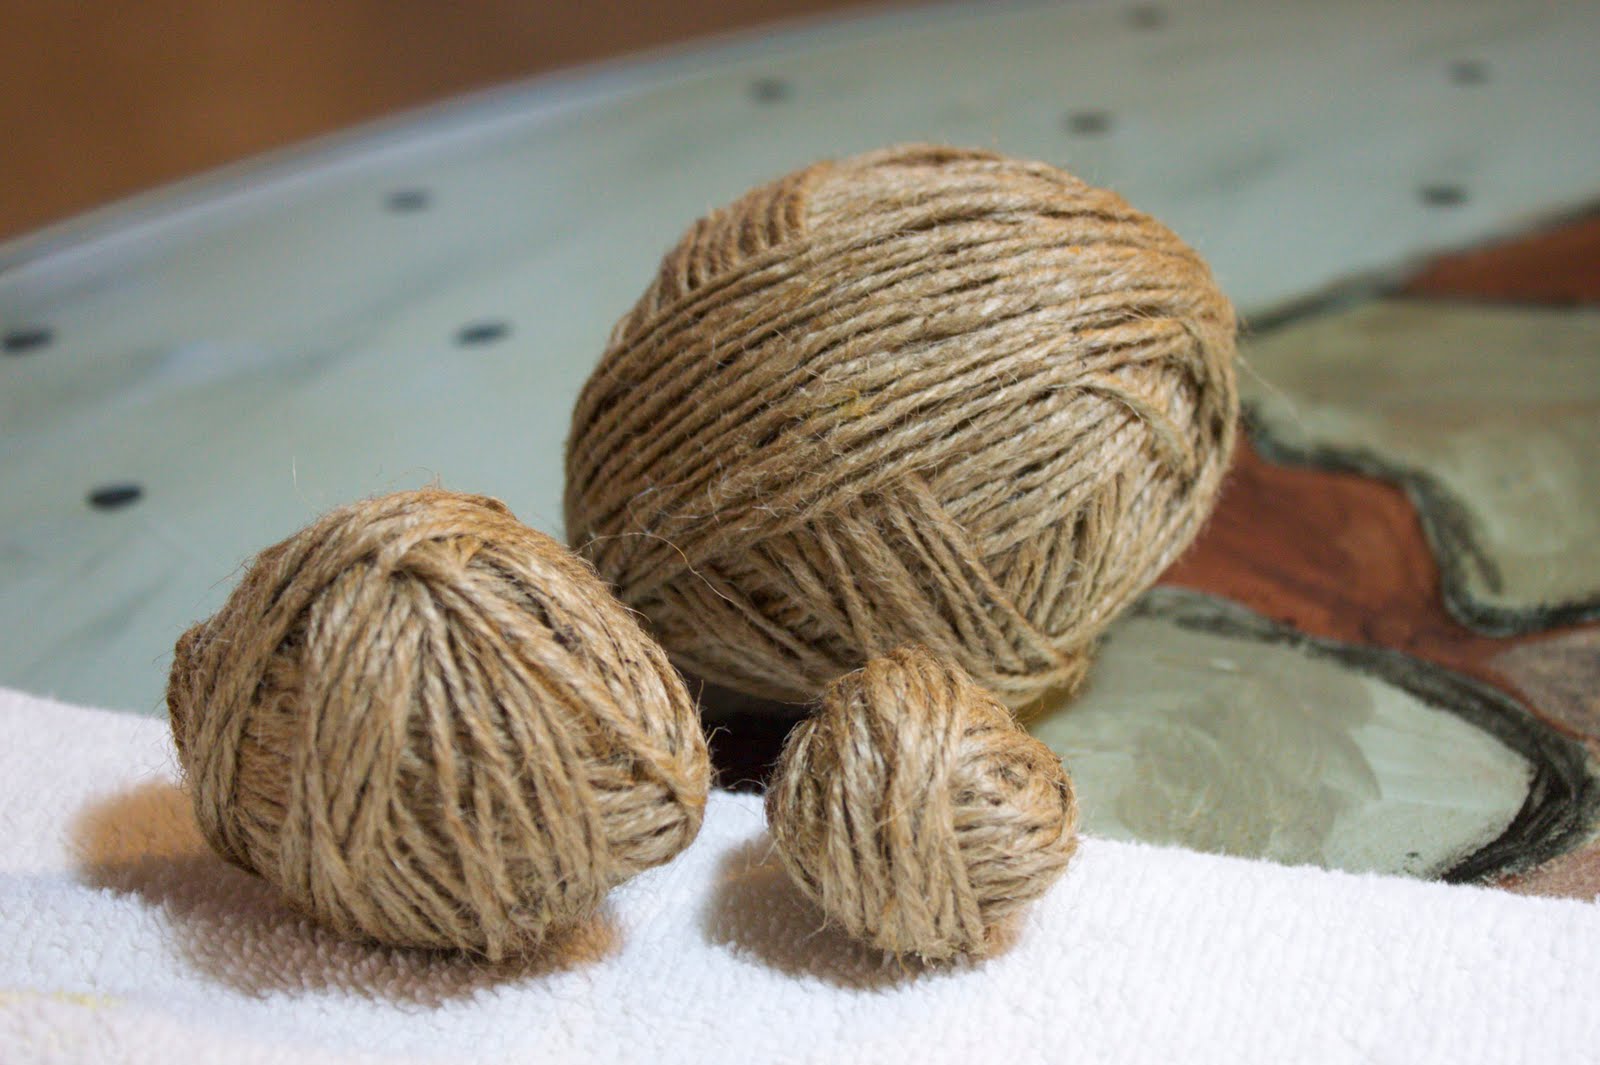
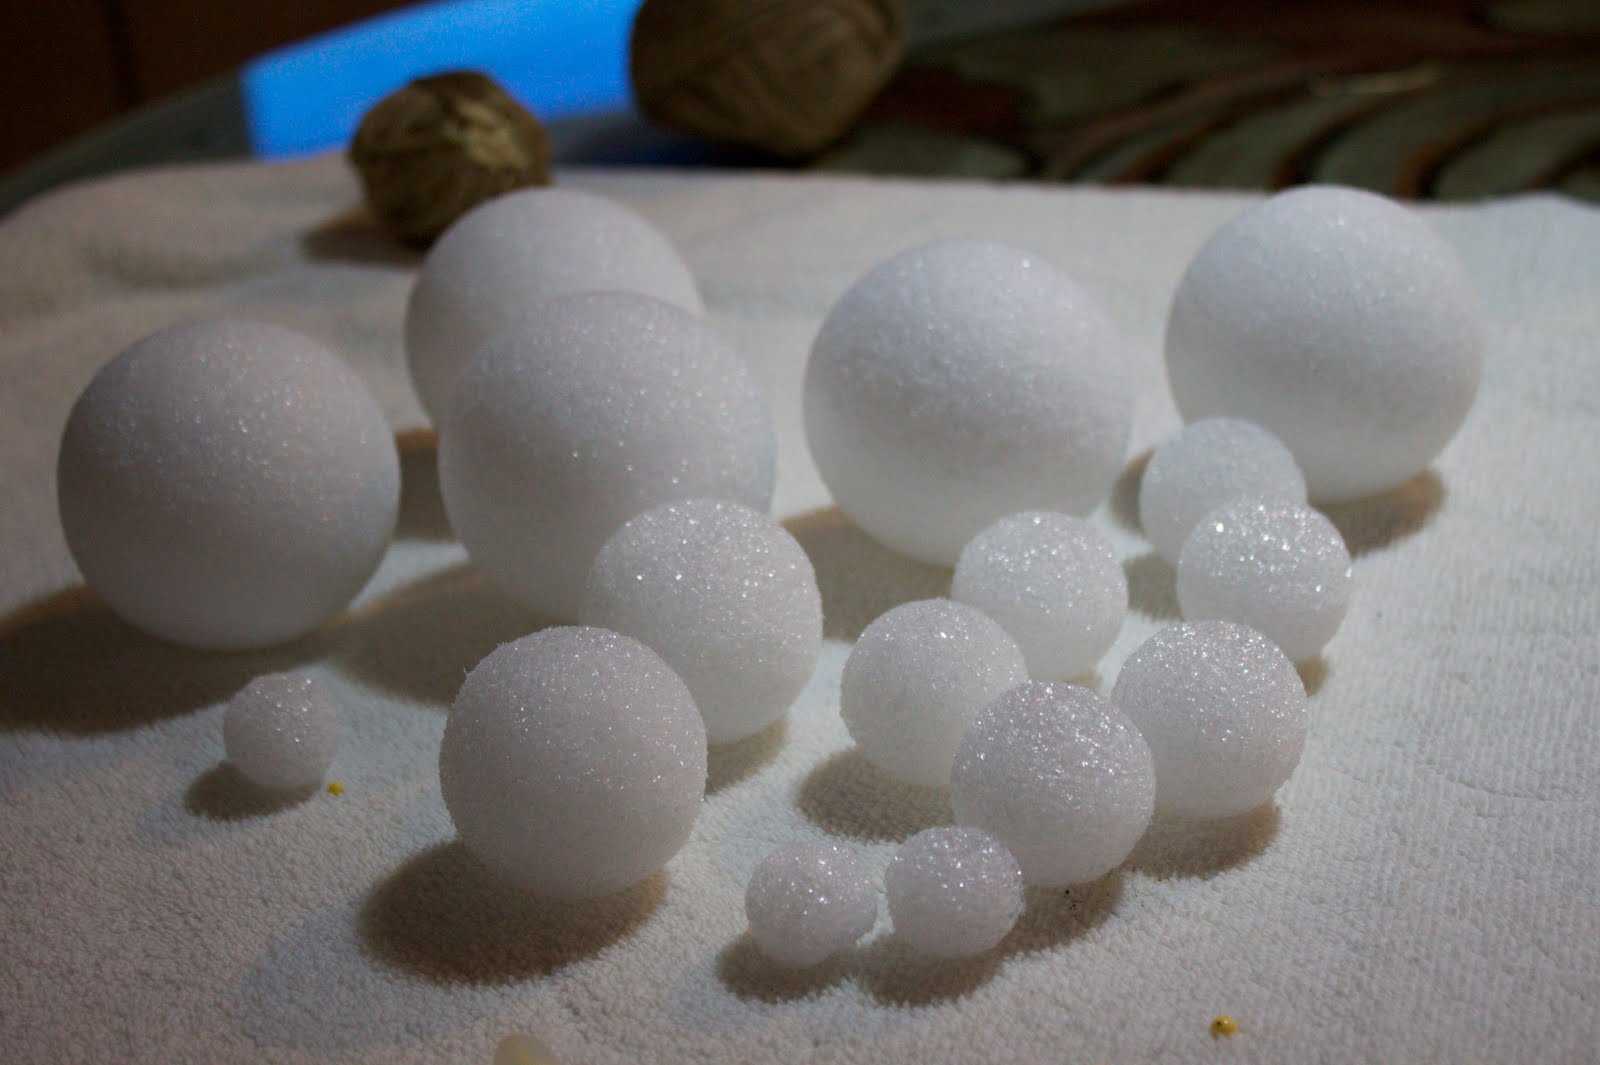
Styrofoam balls in various sizes (or really any round objects, like old tennis balls!)
Glue (nothing specific here. I used Wood Glue, because it’s what I had!)
Jute (I used light & medium colors, and I found it by the skein at Hobby Lobby)
Instructions:
1. Place a small amount of glue anywhere on your ball and press the end of the jute string to it (just a few seconds; it doesn’t have to be totally dry.

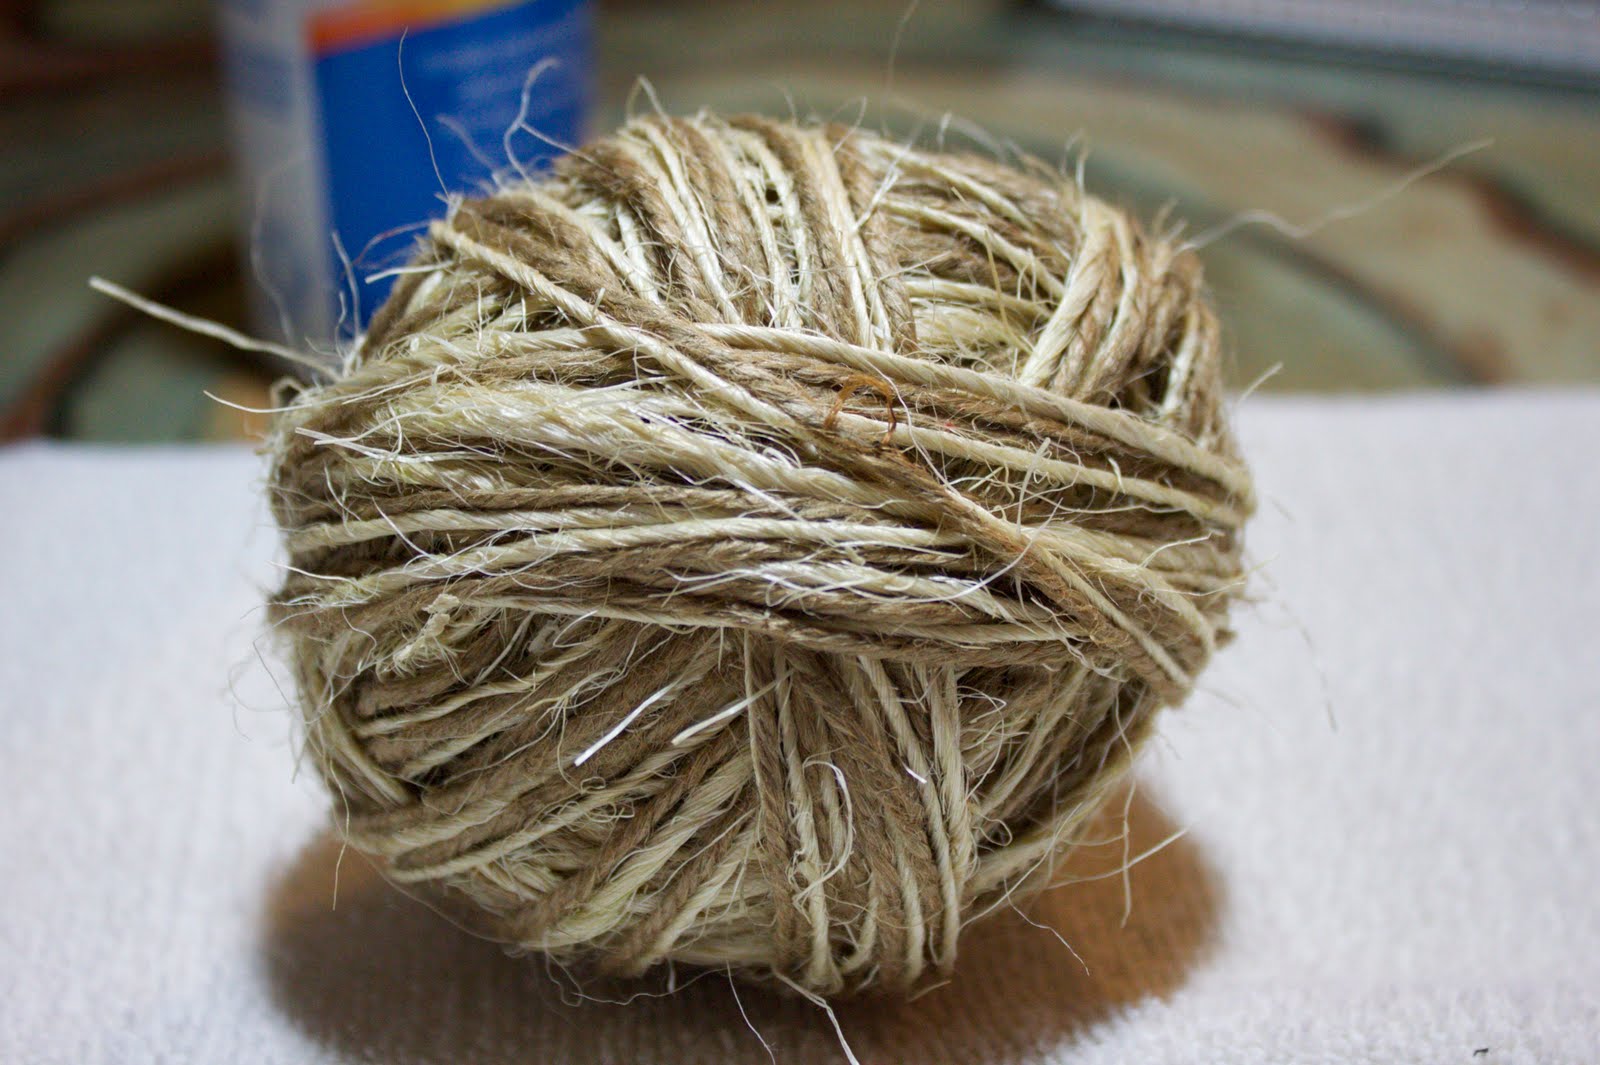
2. Then, the fun part….wrap the jute around the ball like crazy!
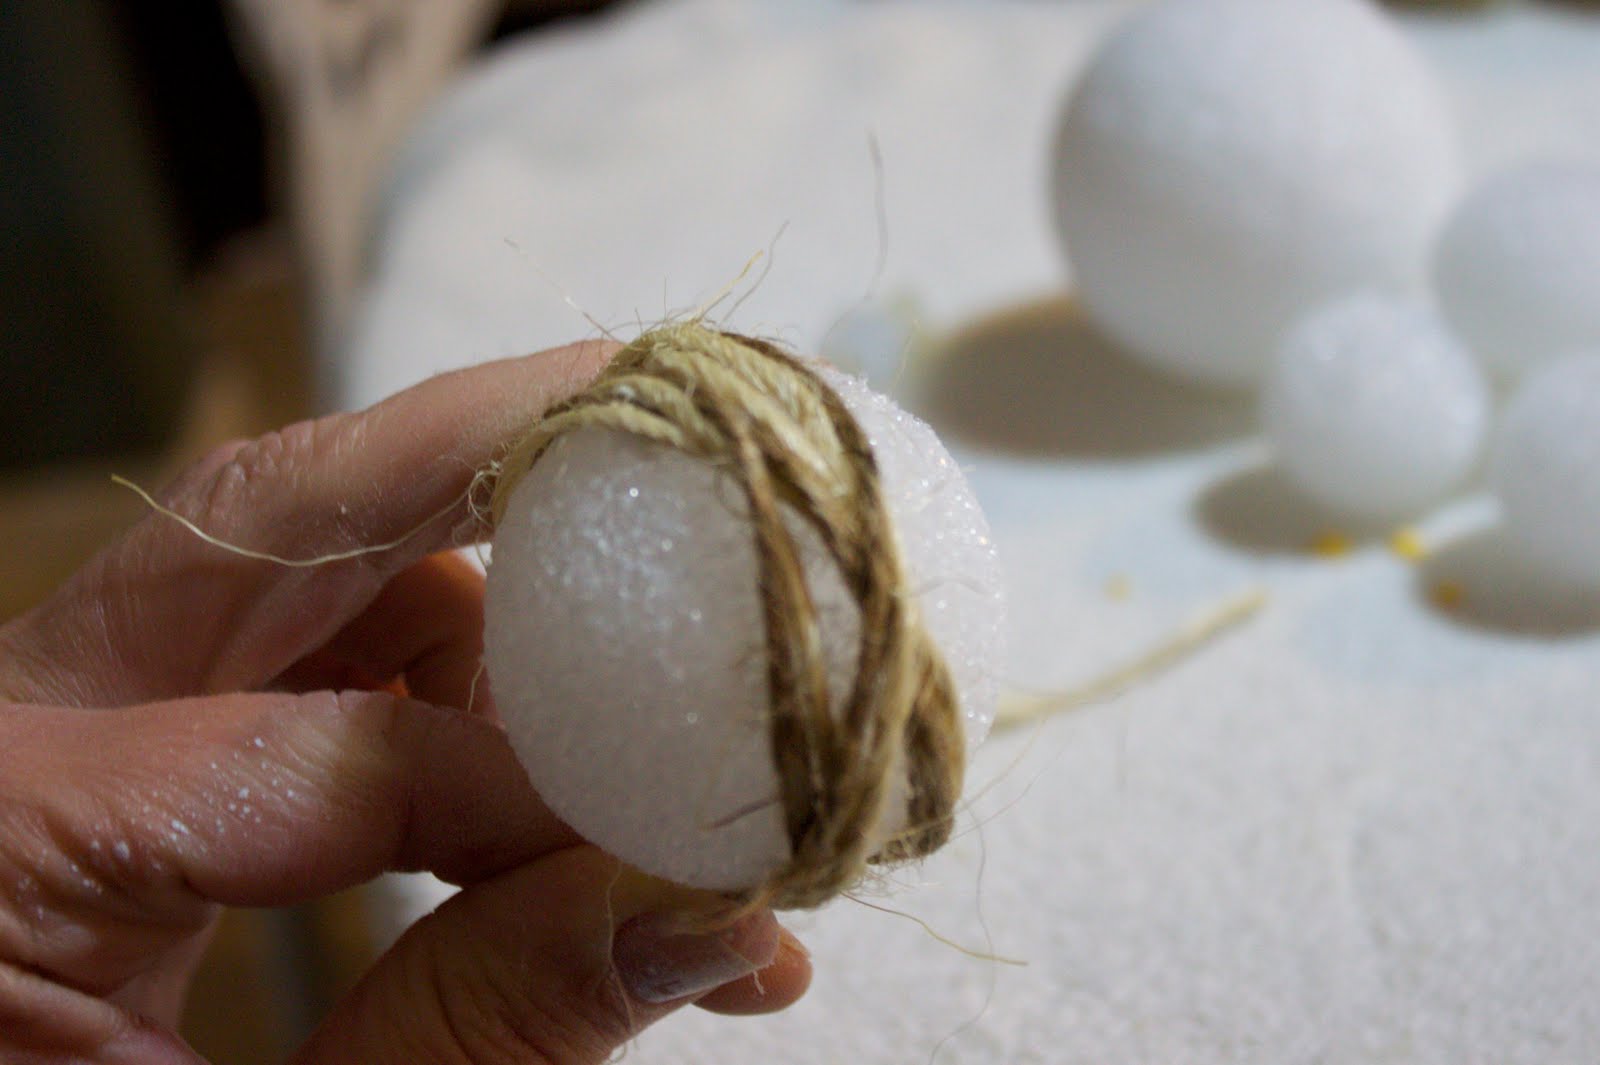
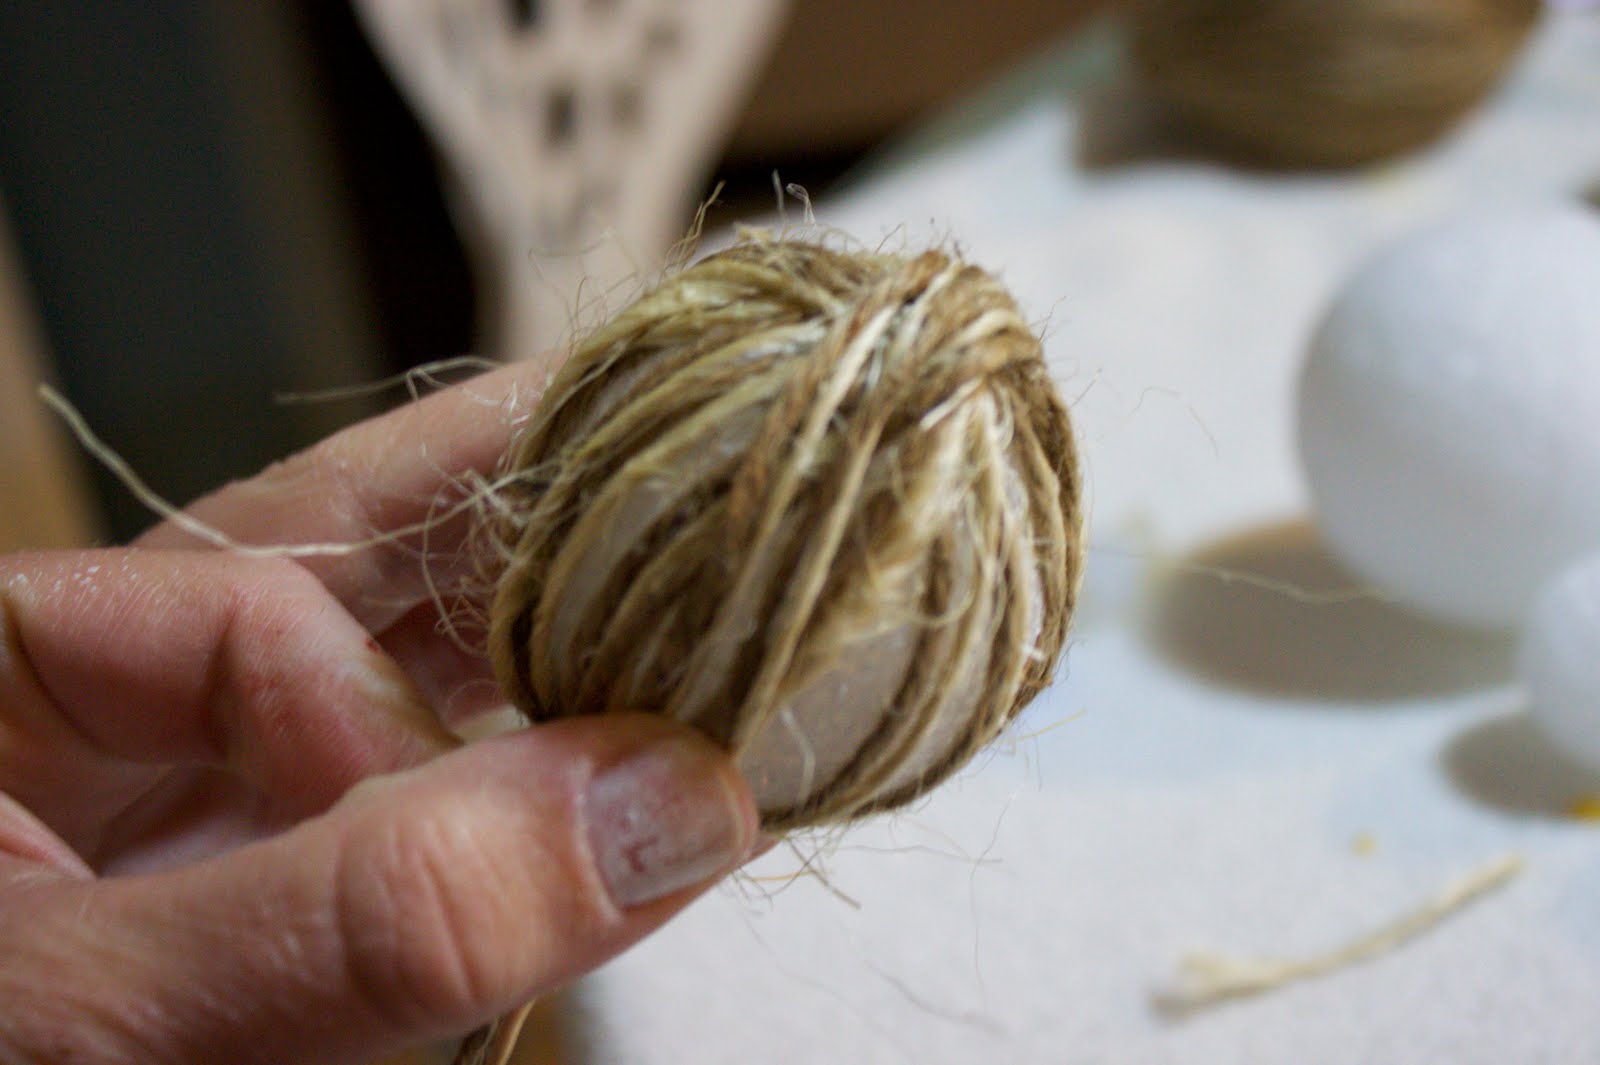
There is no method to the wrapping and really the more haphazard the wrap, the better I think! Just be sure to turn the ball occasionally, or you’ll end up with this:
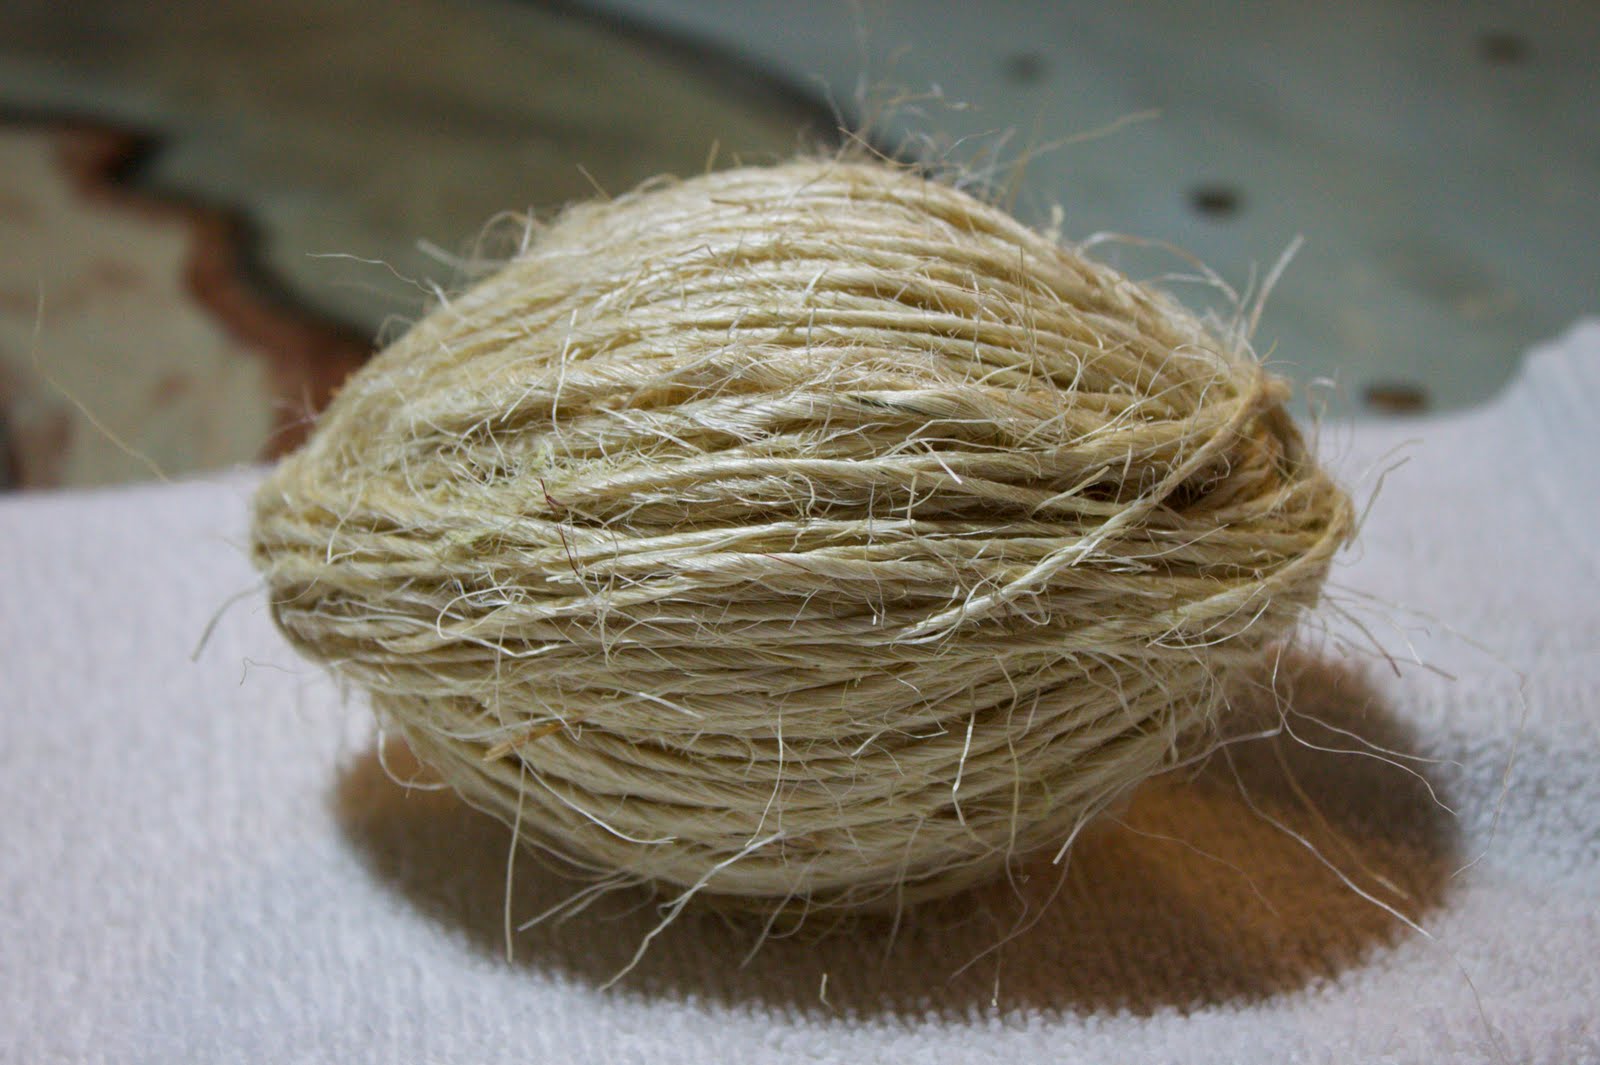
A jute football, which I guess could be cute, but it’s probably not what you’re going for!
3. When you have the ball completely covered, place a small bit of glue on the end of the jute string and then use a pointed object to “tuck” the string down into the ball. (I used a cheese knife, because it was the first thing I could grab!)
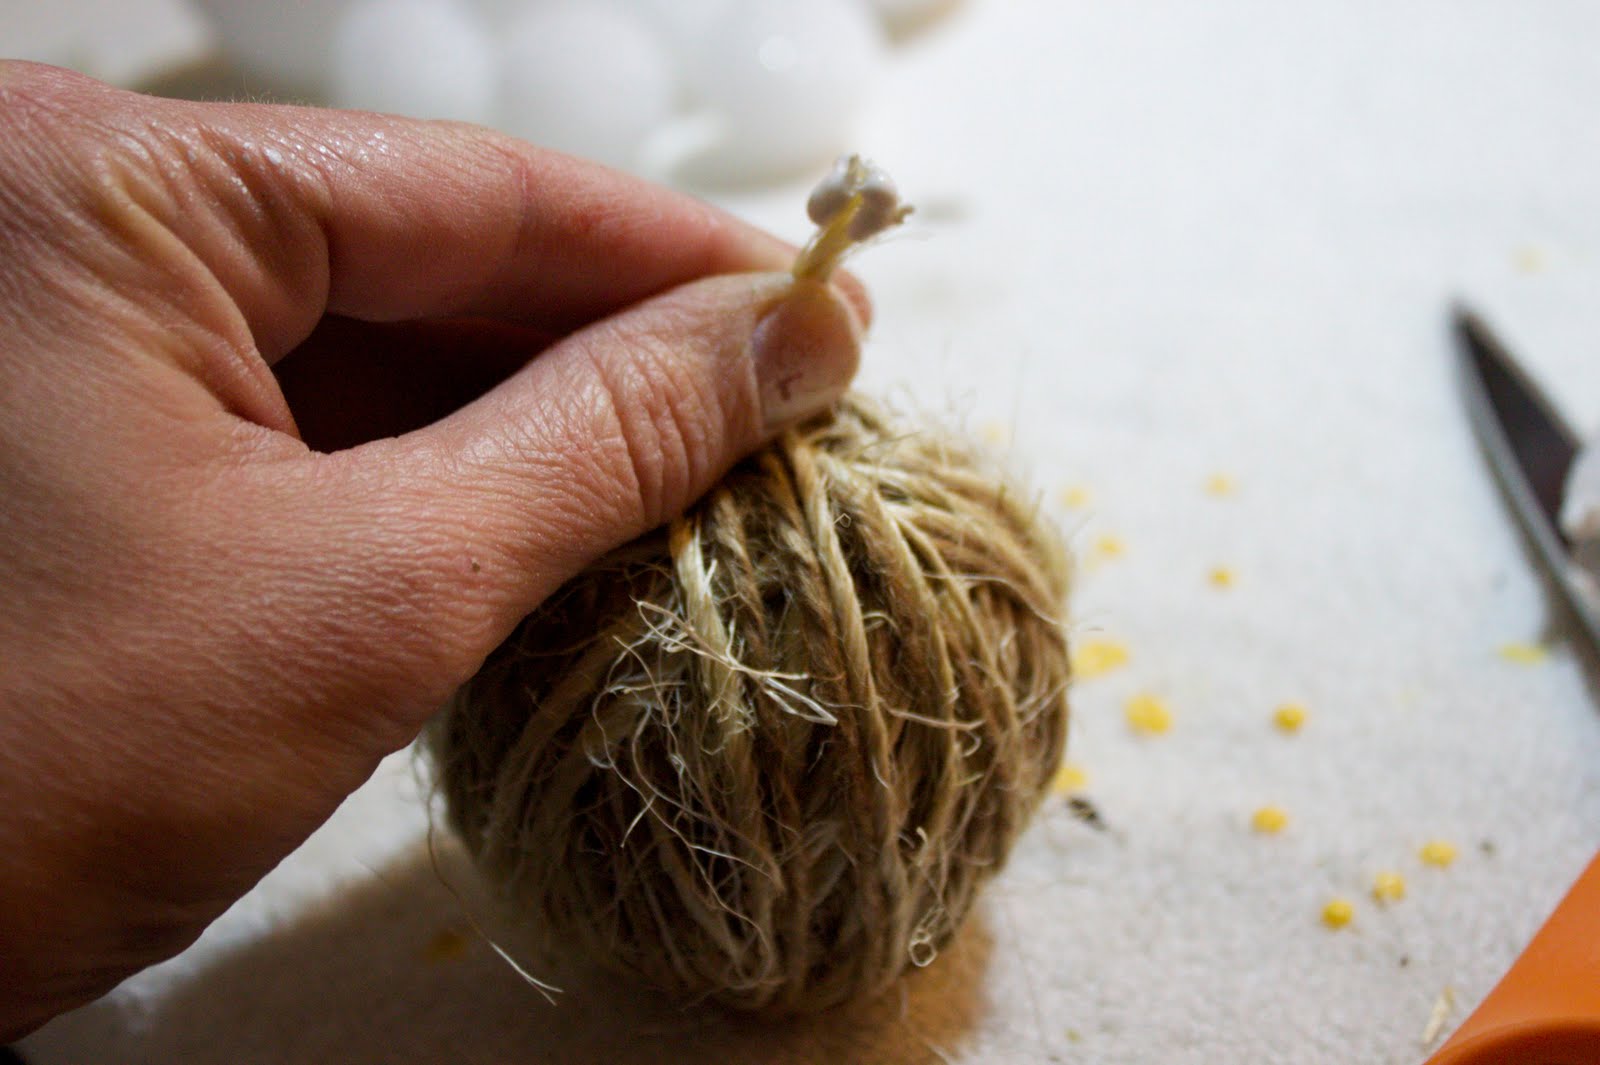
Voila! Cute decorative balls for CHEAP!
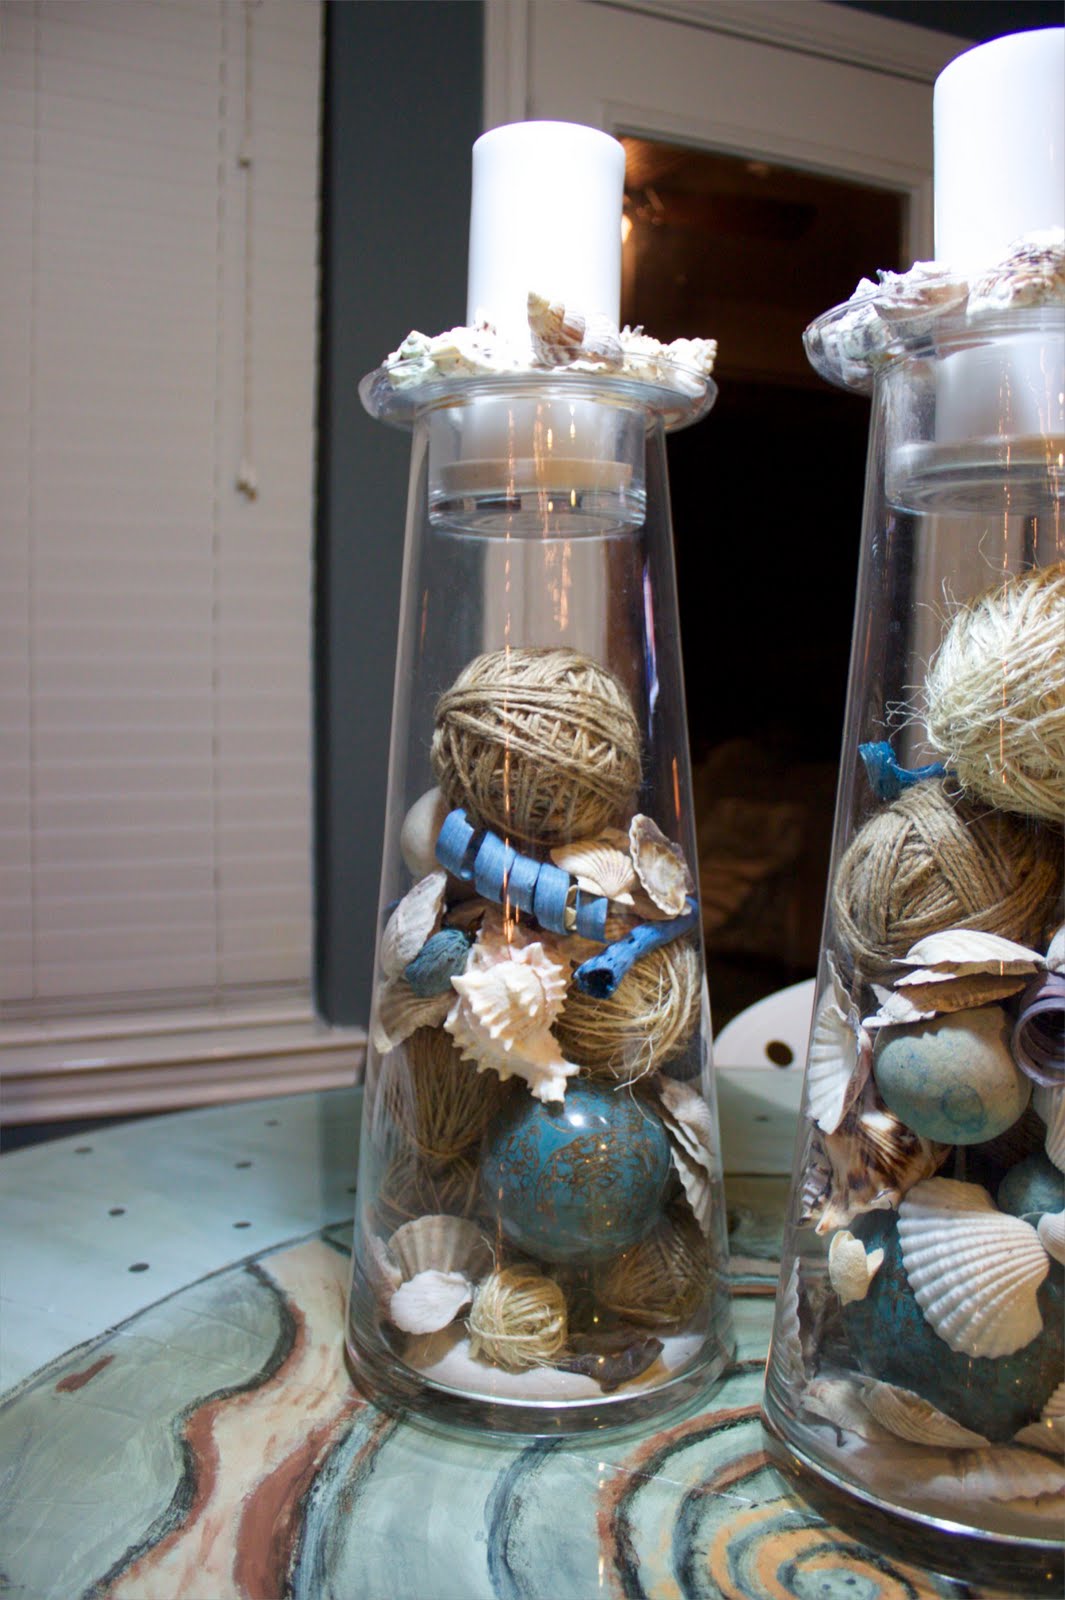
I used mine as vase filler for a beachy centerpiece!
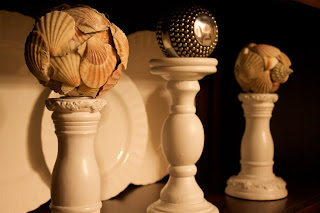
Shell Covered Balls

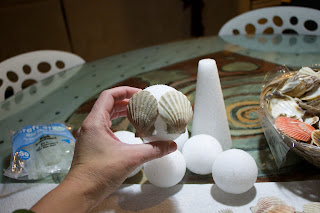
You will need:
Styrofoam balls (or any round object like old tennis balls!)
Shells (flat ones work best)
Hot glue gun & glue sticks
Instructions:
1. Hold your ball & hot glue your first shell. I’ve found that if you put a little hot glue on the very top of the shell and then along the flat part at the bottom, that is enough to secure it to the ball.
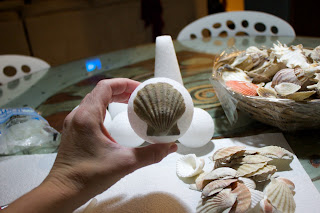
2. Continue glueing shells around the ball, even with the first one. There may be a few gaps, don’t worry!
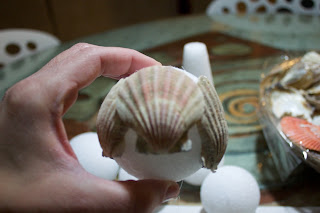
3. Glue a flat shell to the top of the ball, and one to the bottom.
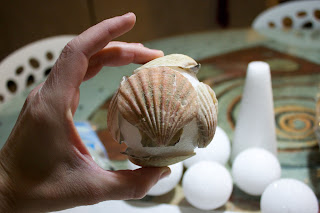
4. Now here’s where you get creative. Glue flat shells over the other shells, to cover up the gaps. You will have to pay particular attention to shell size as you go, to maintain the round shape.
And there you have it! Unique decorative balls!
A big thank you to Cheri for inviting me to share this project and pop in to say hello sometime at Finesse Your Nest!
I can already tell we are going to need to have Kendall back to show us how she did the center ball as well.
Isn’t she so creative.
You gals are the greatest in the world and that’s why I love you all so much.
Thanks Kendall
You are so awesome.


{ 13 comments… read them below or add one }
OOOOH that was a great “TUTE”! I will have to try that. Looks like something my little ones can help with. I am thinking about spraypainting them after they are finished to match decor!! Thanks for sharing. Have a great day!
thanks for another great tute! and yes! we need to see how she made that center one too! GOR-GEOUS!
Very clever! What great filler for apothecary jars, too! I’ve got a few empty ones that I’m kind of at a loss as to what to put in them.
What a great “tute”! This is definitely high on my list of things to do. My home is also beachy and I had previously admired Kendall’s beachy centerpiece and wondered how to go about making one of my own. Now I know!
Thank you very much for the tutorial!
~ Tracy
Thank you again Cheri for letting me share my projects with your followers! I’m enjoying reading the comments. LOVE the idea about spray painting the jute balls to match your decor scheme! Great idea!
Okay, the center ball in the shell photo (the silver metal one) was not one I made. I’m ashamed to say I BOUGHT it at HL and I think I paid about $6 or $7 for it. This was many years ago before I became a thrifty, crafting fool! (:
If anyone tries the “balls” project or creates your own variation, I would LOVE to see them. I’m always looking for new ideas!!
Thanks everyone!
I love the different decorative balls! Thanks so much for sharing 🙂
SO pretty! Thanks for sharing!
Great tute! I have balls just need to get creating.
smiles, alice
I love the beachy coastal theme, and what cute decor!! Love the decorative jute balls, and the shell covered balls are just beautiful!! Thanks for the great tutorials!
VERY CUTE! i just gave away a bunch of seashells! I’ll have to get some more! I love the vase filled with the balls and other things!
Love the shell balls!!!
Found you again! Thanks for letting me know!
Those balls are very chic…LOVE them…going to have to try this and follow the TUTE!