


We have a guest blogger today. Dorian from That’sSEWme! is here today to show her invention off.
Hi all! My name is Dorian and I’m visiting from That’sSEWme!
I’m a SAHM to two beautiful, fun-loving boys, ages 2 1/2 and 6 month old.
Some fun facts about me:
– I love the colours green and purple
– I am a beginner at sewing but LOVE it. Love to scrapbook too 🙂
– I met my husband when I was 18 (I’m 25 now)
– When I was younger I really wanted to be a fashion designer or cosmetologist
– Ended up working in a bank :S
– I was born in El Salvador but grew up in Canada since the age of 6
– I speak English and Spanish and am in the process of learning ASL (for my youngest)
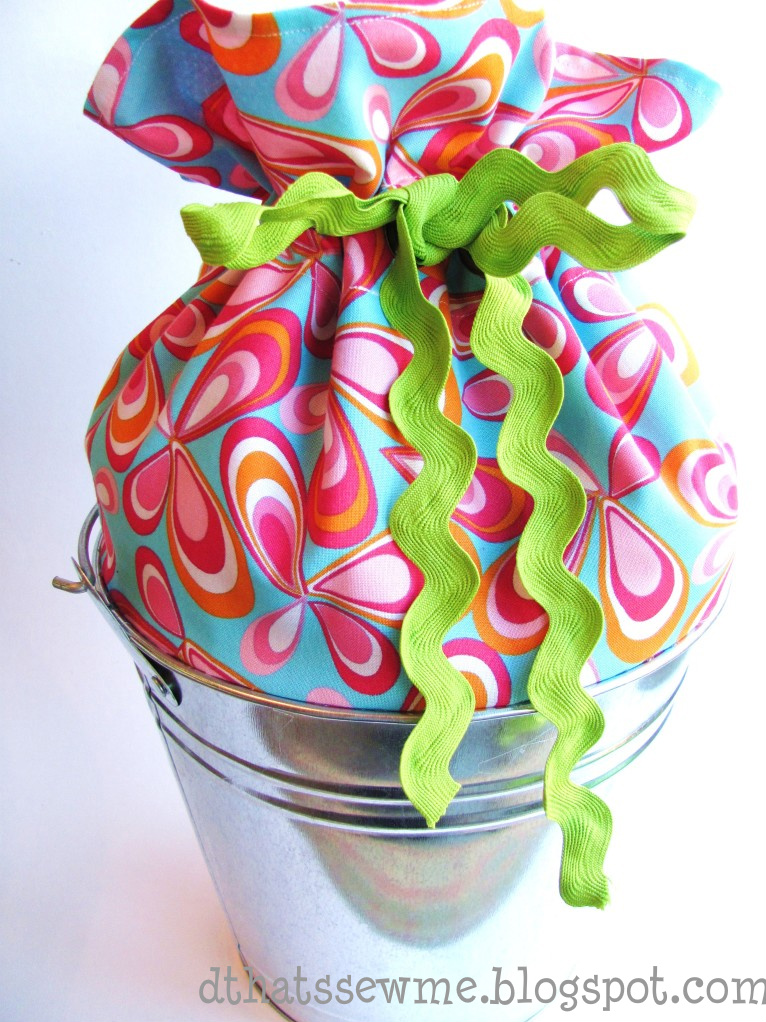
Today we will be making my “Handy Pail” which I will be selling on my soon-to-open Etsy site.
You will need:
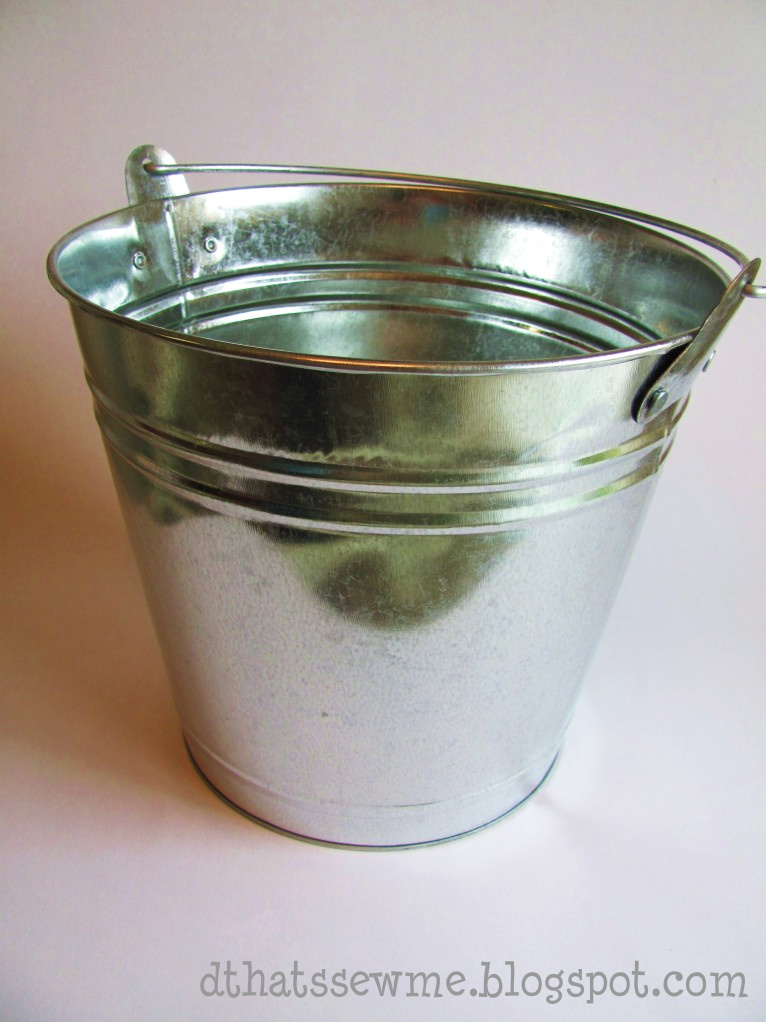
-a galvanized bucket (but this can really be done to anything that holds
stuff)
stuff)
-less than 1/2 a yard of two different fabric (1/2 yard EACH)
-a ribbon that matches
-scissors
-sewing machine
-tape measure
-chopping board
-grommets AND grommet kit
-hammer
-pins
-glue gun and glue
-magazine 🙂
AND AWAY WE GO!!!
Take your bucket and measure around the top…
Add 1/2 an inch allowance to whatever you got and cut your fabric that
length…
length…
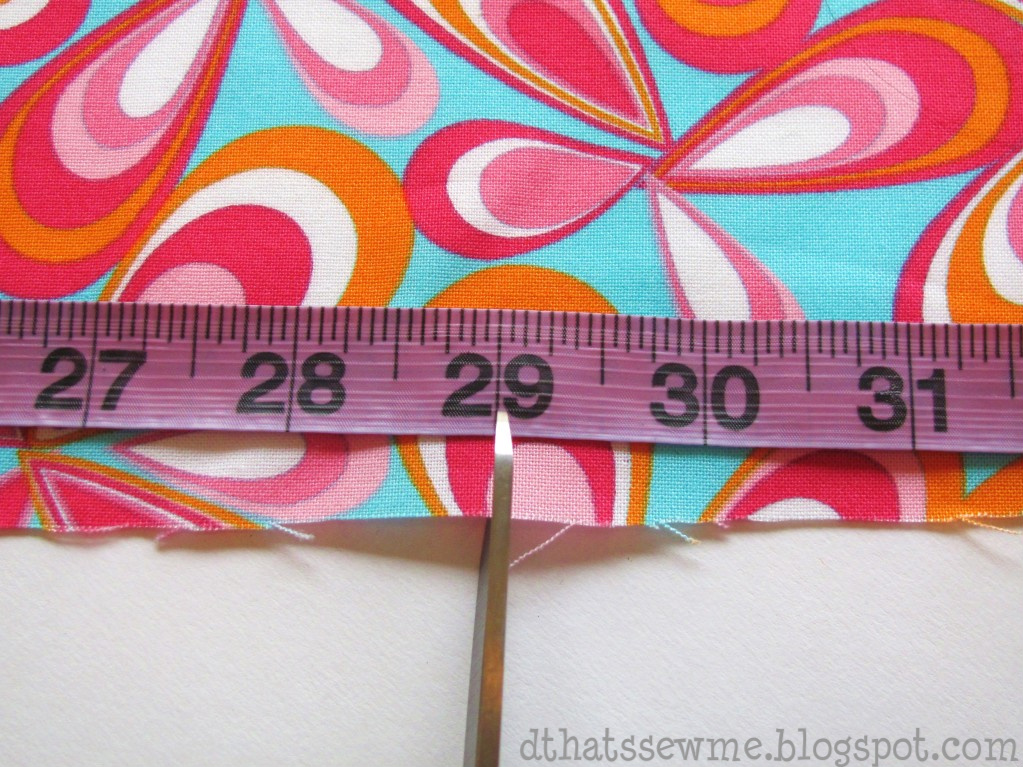
You need to decide how TALL you want the fabric, I recommend 11 inches
(including seam allowance)…
(including seam allowance)…
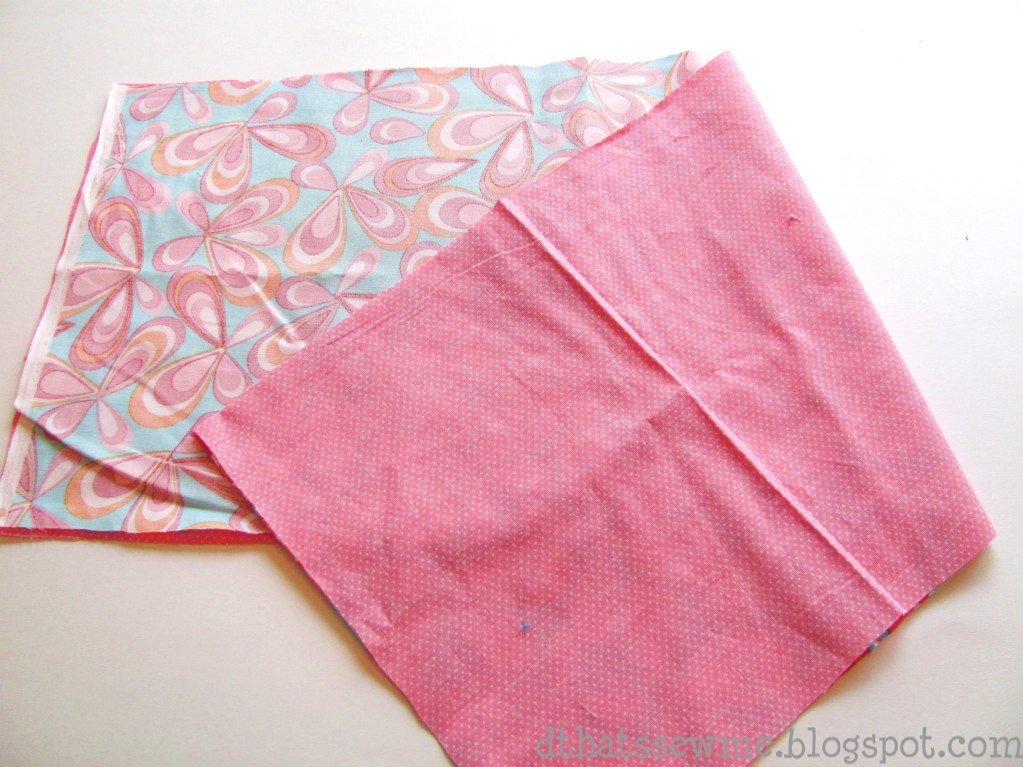
A rectangle… do it to both of your fabrics, right sides together like so:
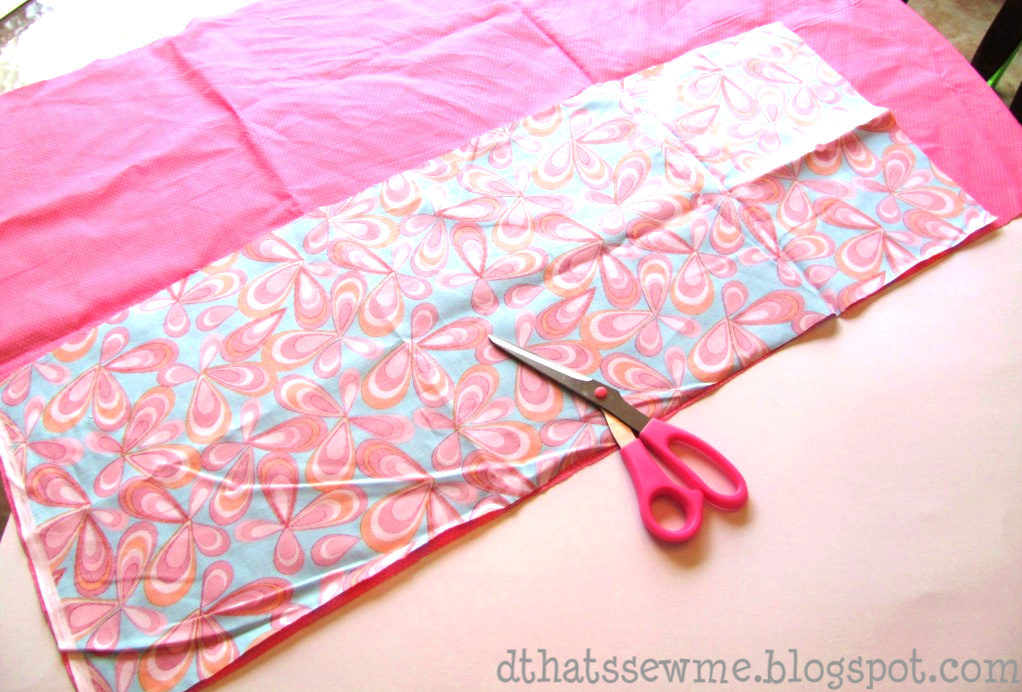
Cut…These pieces measure 29 inches wide by 11 inches high
Now take your chopping board, decided where you will place your
grommets (about 31/2 inches from top and centered), place your fabric on top, get your grommet kit and hammer…
grommets (about 31/2 inches from top and centered), place your fabric on top, get your grommet kit and hammer…

*my son was helping me…that’s his hammer 🙂
I won’t get into specifics about how to set a grommet, your kit should have
instruction, but basically make a SMALL hole(1) add grommet and hammer,
should look like #2 from the wrong side.
instruction, but basically make a SMALL hole(1) add grommet and hammer,
should look like #2 from the wrong side.
Measure about 2 inches apart and set second grommet. Should look like #4.
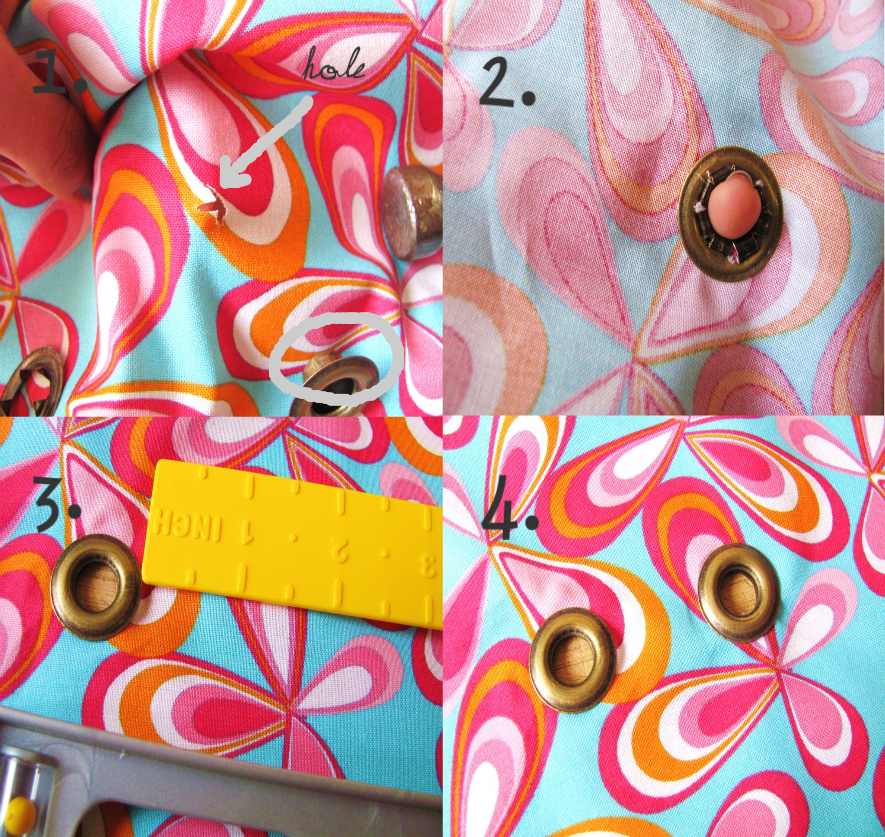
*pardon the yellow toy ruler, I had temporarily lost my tape…to a crazed 2 year old!
Okay, now fold each rectangle in half lengthwise and pin than sew both closed SEPARATELY so you now have two tube like pieces…

Insert one in the other RIGHT sides together, outer fabric on TOP
You should have this:

This is what it should look like:
Okay, hem the fabric at the end closer to the grommets…DO NOT STITCH TUBE SHUT!

Turn like so:

Fold unfinished edges and press.
Once you’ve pressed it, add pins to folded sides:

Now turn so that wrong sides are touching. You’ll see you have too
many pins. Remove them. Re-Pin both fabrics together:
many pins. Remove them. Re-Pin both fabrics together:
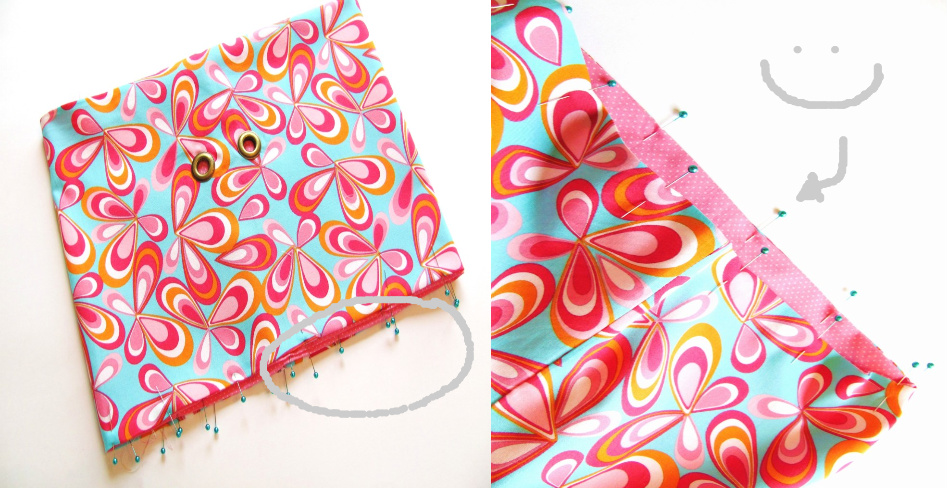
Much better!
Now…sew along the arrows: Closing the pinned side (bottom), hemming closed side(top) and creating a tunnel for your ribbon:

Now, let’s add it to your bucket! Turn bucket on side…use a magazine to
keep it from rolling :), glue a 1/2 inch down from top of both fabric and bucket…and #4 is what you should have:
keep it from rolling :), glue a 1/2 inch down from top of both fabric and bucket…and #4 is what you should have:

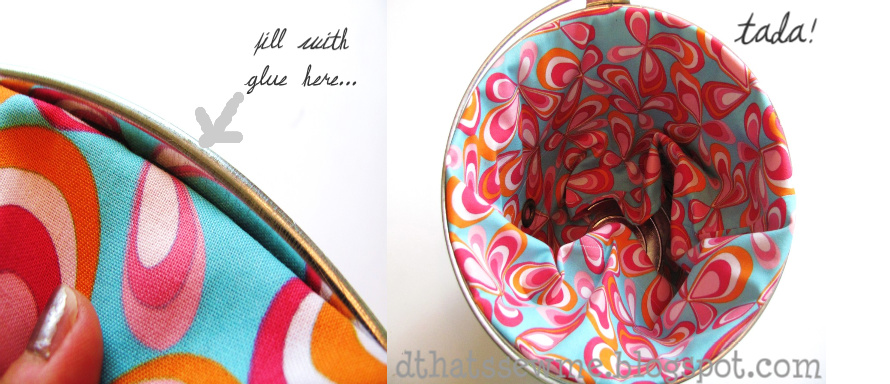
You will have a space still between where you’ve glued fabric down and
the top of your bucket…fill with glue and glue fabric down, making sure glue does not show or spill over…TADA!
the top of your bucket…fill with glue and glue fabric down, making sure glue does not show or spill over…TADA!
This next set of pics say it all:

And VOILA! You now have a pretty place for all your little bits! This could
be great for ANYthing that needs organizing…makes a cute baby shower gift too 🙂
be great for ANYthing that needs organizing…makes a cute baby shower gift too 🙂
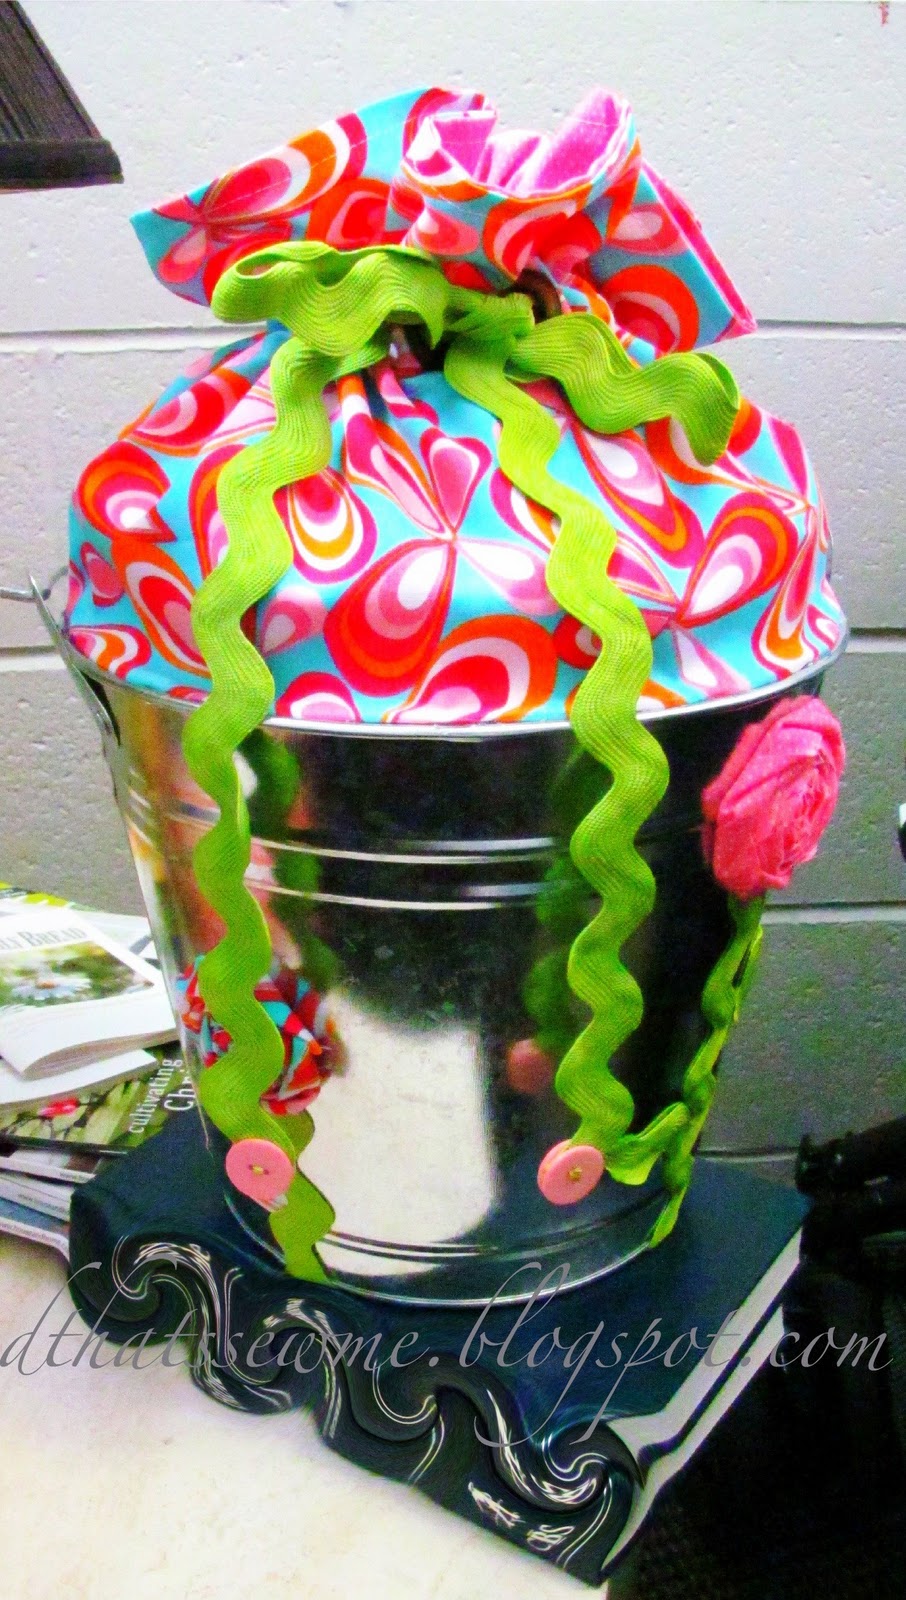
You can pretty it up anyway you want…I like to add flowers:

And buttons to the end of the ribbons: LOVELY!
Hope you all liked it and found it easy to understand!
Please remember this is for home and recreational use only (not for commercial purposes please) and if you use this tutorial please be so kind to link it back to my blog:

Hope you visit!
A BIG, HUGE thank you to Cheri for having me on today! This was such fun!
And thank you all for reading through my long, looong post 🙂


{ 0 comments… add one now }